My latest goal on my journey to cut animal products way down in my diet was to find a suitable egg substitute. From what I've seen, finding anything that will accurately mimic a nice, fried, over-easy egg is going to be impossible, but there are a few products out there to mimic scrambled eggs and sub in during baking.
(Quick tangent: we tried Just Egg for scrambled, and while I find it's got the same kind of flavor profile as eggs - kind of umami - it definitely doesn't taste like an egg. It pairs well with toast or pancakes and I actually really like it, but it's not egg-tasting. It's just...egg-like. The texture is really good, too! For the price though, I'm not sure it's worth it.)
While the internet tells me I can replace an egg in baking with applesauce or a banana, I wanted to try a real egg replacer because I've also read that the applesauce or banana route can change the flavor and texture of whatever you're making.
So, I picked up some VeganEgg. I like Follow Your Heart cheeses (although Violife has recently taken the top-spot in the cheese replacement category for me) and VeganEgg is made by FYH. And really, I saw it on the shelf and was like "Oh I recognize that kind of, so it must have a solid reputation, so let's try it!"
I bought it without realizing you can apparently make scramble with it (actually, I bought it without knowing anything except that it's gluten free and vegan), so maybe someday I'll test that. For now, my focus is baking.
My first impression was that the instructions were pretty unclear. Generally, 2 TBSP VeganEgg + 1/2 cup water = 1 egg, but when baking, the formula is "1/4 cup water to 1 VeganEgg"...so I spent some time trying to figure out if that still meant 2 TBSP or what.
Not helpful.
In the end, I just had to make a guess. The website basically says you should cut down on water per egg when baking so I assumed I was supposed to decrease the amount of water and keep the powder the same.
Second impressions: this stuff smells kind of weird and sulfury. Which I guess it should because it's mimicking eggs? The scent is not overpowering or very off-putting, but it's definitely there.
I like that there's quite a lot in there, so one packet = 12 eggs.
Third impressions: Once I mixed it up and put in the rest of my ingredients, the batter really looked just as it should so I guess I got the ratio right!
The raw batter tasted good! No obvious "fake eggy" flavor.
This mix calls for 25-30 minutes at 350F, and my muffins were definitely done at 25. I'd say my oven does tend to bake a little hot, so I don't think the VeganEgg had anything to do with that.
I noticed my finished muffins seemed pretty squat, but Simple Mills generally doesn't rise very much, so this may not be due to the eggs. Or it might be. Who knows!
Golden brown!
Tender and dense, tasty, no weird aftertaste...I'd call that a win!
They were definitely baked through (no crumbs on my tester), dense inside, and super moist. I probably should have tested the VeganEgg with a recipe I know really well so that I could easily spot any differences, but I will say that the muffins tasted great so I have no complaints.
As far as I can tell, VeganEgg is a perfectly fine egg substitute for baking. I definitely plan to continue using it in this capacity. I'm relieved to have found something that works!
Now if only I could find a good replacement for hardboiled and over-easy!
I have a recipe to share today! It's adapted from this one from the Brown Vegan website. I made a few alterations but her recipe completely gave me the foundation to start on. It's an incredibly easy pantry meal that will only dirty one pan (and your rice cooker), makes a ton, and is so delicious!
As you guys know, Matt and I have been mostly-vegan at home these days. This is a great plant-based recipe!
Ingredients:
2 cans chickpeas
2 cans fire-roasted diced tomatoes (I did one with garlic and one without)
1 can fire-roasted corn
1 can coconut milk, unsweetened (I used "lite")
1 tbsp corn starch (optional)
salt, pepper, garlic powder, paprika, red chili flakes to taste
Nutritional yeast to taste (as a topping)
2 cups rice (I used jasmine)
Seasonings not pictured.
Instructions:
Cook the rice according to the package. (Or do yourself a favor and get a rice cooker. Best $35 I ever spent!)
This honestly couldn't be simpler.
Drain all your canned legumes and veggies.
Warm the tomatoes and corn in a large sauce pan over medium-high heat.
Add the chickpeas. Stir together, then cover and allow to cook for about 7 minutes, stirring occasionally.
Add the can of coconut milk and seasonings and stir well. (You could add your red pepper flakes at this point, but Matt doesn't like them so I held mine back and added it to my serving only.)
Cover once more and cook another 5 minutes.
At this point, if your sauce still looks very runny, add some corn starch by sprinkling it evenly over the entire dish and stirring well to avoid clumps. I did so and then let it continue to simmer for about three more minutes.
You could absolutely add other veggies to this - peppers, onions, whatever!
This recipes makes a whopping nine 1-cup servings, coming in at around 170 calories/serving (not including the rice).
I topped mine with a sprinkle of Nutritional Yeast and red pepper flakes and it was freaking amazing.
I feel like this would be a great meal for weekly meal-prep because of how much it makes. You could easily halve the recipe, too. It's so versatile! I feel like this will definitely become a staple for us.
I've been debating whether to make a post like this for awhile. I know there's nothing more annoying than someone going on and on about how they've given up meat, but after talking to Kristina, I decided this was worth a post.
For one thing, I'm not fully meatless, so I think the preach-factor won't be as high. For another, for the longest time the biggest deterrent to cutting meat out of my diet was not knowing how to replace it. I was scared of tofu.
Matt and I aren't eating red meat, chicken, or (most) dairy at home anymore. We still have fish and eggs, and we frequently eat meat when we go out. I don't necessarily feel any healthier having gone this route. I don't have more or less energy; I haven't lost or gained weight. I do feel a little better about my impact on the environment and animals, and I can finally eat the meals I cook without feeling nauseated, which is the most important thing.
I found the video below really helpful in figuring out what kind of tofu I like best and how to cook it.
This post is going to cover two ways I cook tofu and a brief recipe using meatless ground "beef". Also, before I get comments about how eating "too much soy" is bad for you, you should know I did my due diligence before introducing tofu as a staple in our diets. Here are two articles that cite multiple studies that debunk the myths. Basically, the amount of soy we're eating is totally fine; people who tend to get alarmist about "too much soy" haven't brushed up on their reading lately.
Bear in mind, too, that I'm cooking for a two-person household, so one block of tofu is enough for dinner, but if you're feeding more than two people you'd need to adjust.
Cooking Tofu: Prep
I prefer extra firm tofu. Cooked, it has a nice firm texture on the outside but stays soft inside. It doesn't dry out or get crumbly the way I've found super firm can.
When Publix carries it, I prefer this "tofu plus" variety of Nasoya.
To prep it, I drain the container and unbox the tofu onto a paper towel. I let it rest for a few minutes while I preheat the oven/pan, but I don't worry about pressing or draining it.
I usually cut it into 1"x"1 blocks. Any smaller, and they will get a little crispier. Any bigger, and they'll stay softer. It's really down to preference. Some people cut it into "steaks" (thin rectangles instead of cubes), but I like the texture of cubes better.
Cooking Tofu: Stovetop - 10 minutes
Spray a large nonstick pan with cooking spray and preheat it on medium-high heat. (You can probably get away without spray if your nonstick pan is still in good shape but mine is 9 years old and needs a little help.)
You want to put the tofu in when the pan is nice and hot and then leave it alone for at least 5 minutes. If you turn it early, it will stick. I cook the tofu in batches so it's not crowded in the pan. When the edges begin to brown, turn it and cook the other side for another five minutes.
Ideally you'd cook all four sides but I rarely do that. After cooking two, I toss it in the pan randomly for another minute or so, season it to taste (or add whatever sauce I'm using), and then call it done.
Cooking Tofu: Oven - 25 minutes
If I'm feeling lazy and am in less of a rush, I'll bake my tofu. To do this, preheat the oven to 375F. Place your tofu cubes on a parchment-lined baking sheet - no need to spray it!
At the halfway point, the tofu is starting to brown a little bit.
Bake for about 25 minutes, tossing halfway through.
Fully baked.
Serving Tofu:
You can serve pan-fried or baked tofu the way you'd serve any meat, so sometimes we just pair it with baked potatoes or rice and veggies, sometimes we mix it into pasta, or we toss it into a curry (my personal favorite).
Baked tofu in Indian butter chicken sauce
I like to go the "semi-homemade" route and use jarred sauces and steam-in-bag veggies to cut cooking times down.
Pan-fried tofu with rice and broccoli.
Now, for a recipe of a different kind.
Spaghetti Squash Using Beefless Ground
Preheat the oven to 400F. While it preheats, line a baking sheet with foil (shiny side down) and cut a spaghetti squash lengthwise. It's easiest to cut the ends off to create a flat end and then stand it upright to halve it. Remove the seeds with a spoon.
Liberally oil and salt the inside of the squash and place both halves cut-side-down on the baking sheet. Bake for approximately 30 minutes, depending on the size. It's ready when a fork or sharp knife easily punctures it.
When you remove the squash from the oven, carefully flip it over and let it rest. It will need about ten minutes to cool enough to handle. In the meantime, heat your spaghetti sauce of choice in a skillet or pan until it simmers. Then, pour in your frozen beefless ground a little at a time, folding it into the sauce to coat it fully. Allow the "meat"-sauce to simmer on low-medium while you go back to the squash.
Use a fork to shred the spaghetti squash. You simply run the tines over the inside of the squash from top to bottom; the spaghetti texture will happen naturally!
Enjoy!
Finally, here are some brands I'm enjoying. Most vegan "meat" brands aren't gluten free, but we've found Gardein and Beyond Meat both offer some good options. They're in the freezer section of our normal grocery store. We're enjoying Earth Balance for our butter substitute, Follow Your Heart cheeses, Just foods for mayo (I'm interested in trying their egg substitute!), and almond milk in place of cow's milk.
Like I said earlier, we're not planning to go fully vegetarian or vegan, but it's been really easy to make these small changes at home. I was always daunted by tofu and meatless meals; I thought they'd be labor-intensive and hard to shop for. It turns out the opposite is true. Cooking this way is faster and easier than cooking with meat in many ways. It was just a matter of taking the first step.
I hope this post helps anyone who's interested in trying some meat-free meal options but just hasn't known where to start.
Tuesday I ran after volleyball. It was the worst run I've had in months.
Take this post with a grain of salt...I'm officially tapering.
I met Elizabeth straight from practice so I didn't stop home. I had my running bag with me, but after being away all weekend I'd emptied it out to clean things, so I was missing my headband, my phone armband, and my good running socks.
During practice, I was jogging around gathering volleyballs and felt a sharp twinge in my left knee. Then, I got a weird, achy feeling in that butt cheek.
I was wearing a pair of shorts that are kind of loose for practice, so when I got to the park with Elizabeth and realized I didn't have my armband, I had to fit my phone into my back pocket. It bounced and jiggled and basically pulled my shorts down the entire run. So I was mooning traffic for half the run. I knew this wasn't going to be a good one.
If you Google-image search "worst run ever", a bunch of race pictures come up of people who look totally fine...I'd hate to somehow find my picture with that tag!
I have a persistent knot in my back that started aching; we were going to do 5 miles and I decided to see how I felt after three.
My calves were rocks by mile two.
Then, as we were nearing mile three, I started getting sharp, shooting pains in my inner-right ankle. (I think I was overcompensating for the knot and the achy butt cheek and the bouncing phone, and ended up running with some weird gait that cause ankle pain.)
So we called it at 2.8 miles. I couldn't even finish three. I know this was just a bad day with myriad factors I can work around next tine, but taper makes me hyper-paranoid and now I can't stop thinking about every single ache and twinge!
It was also one of those runs that made me step back and go, oh right, things out of my control may happen and then this race won't...so it's time to walk on eggshells and not get cocky!
This week we have our second volleyball game, and then I'm traveling for work Friday, so I may not run again until the weekend. Maybe that's a good thing. But I don't want to taper too drastically!
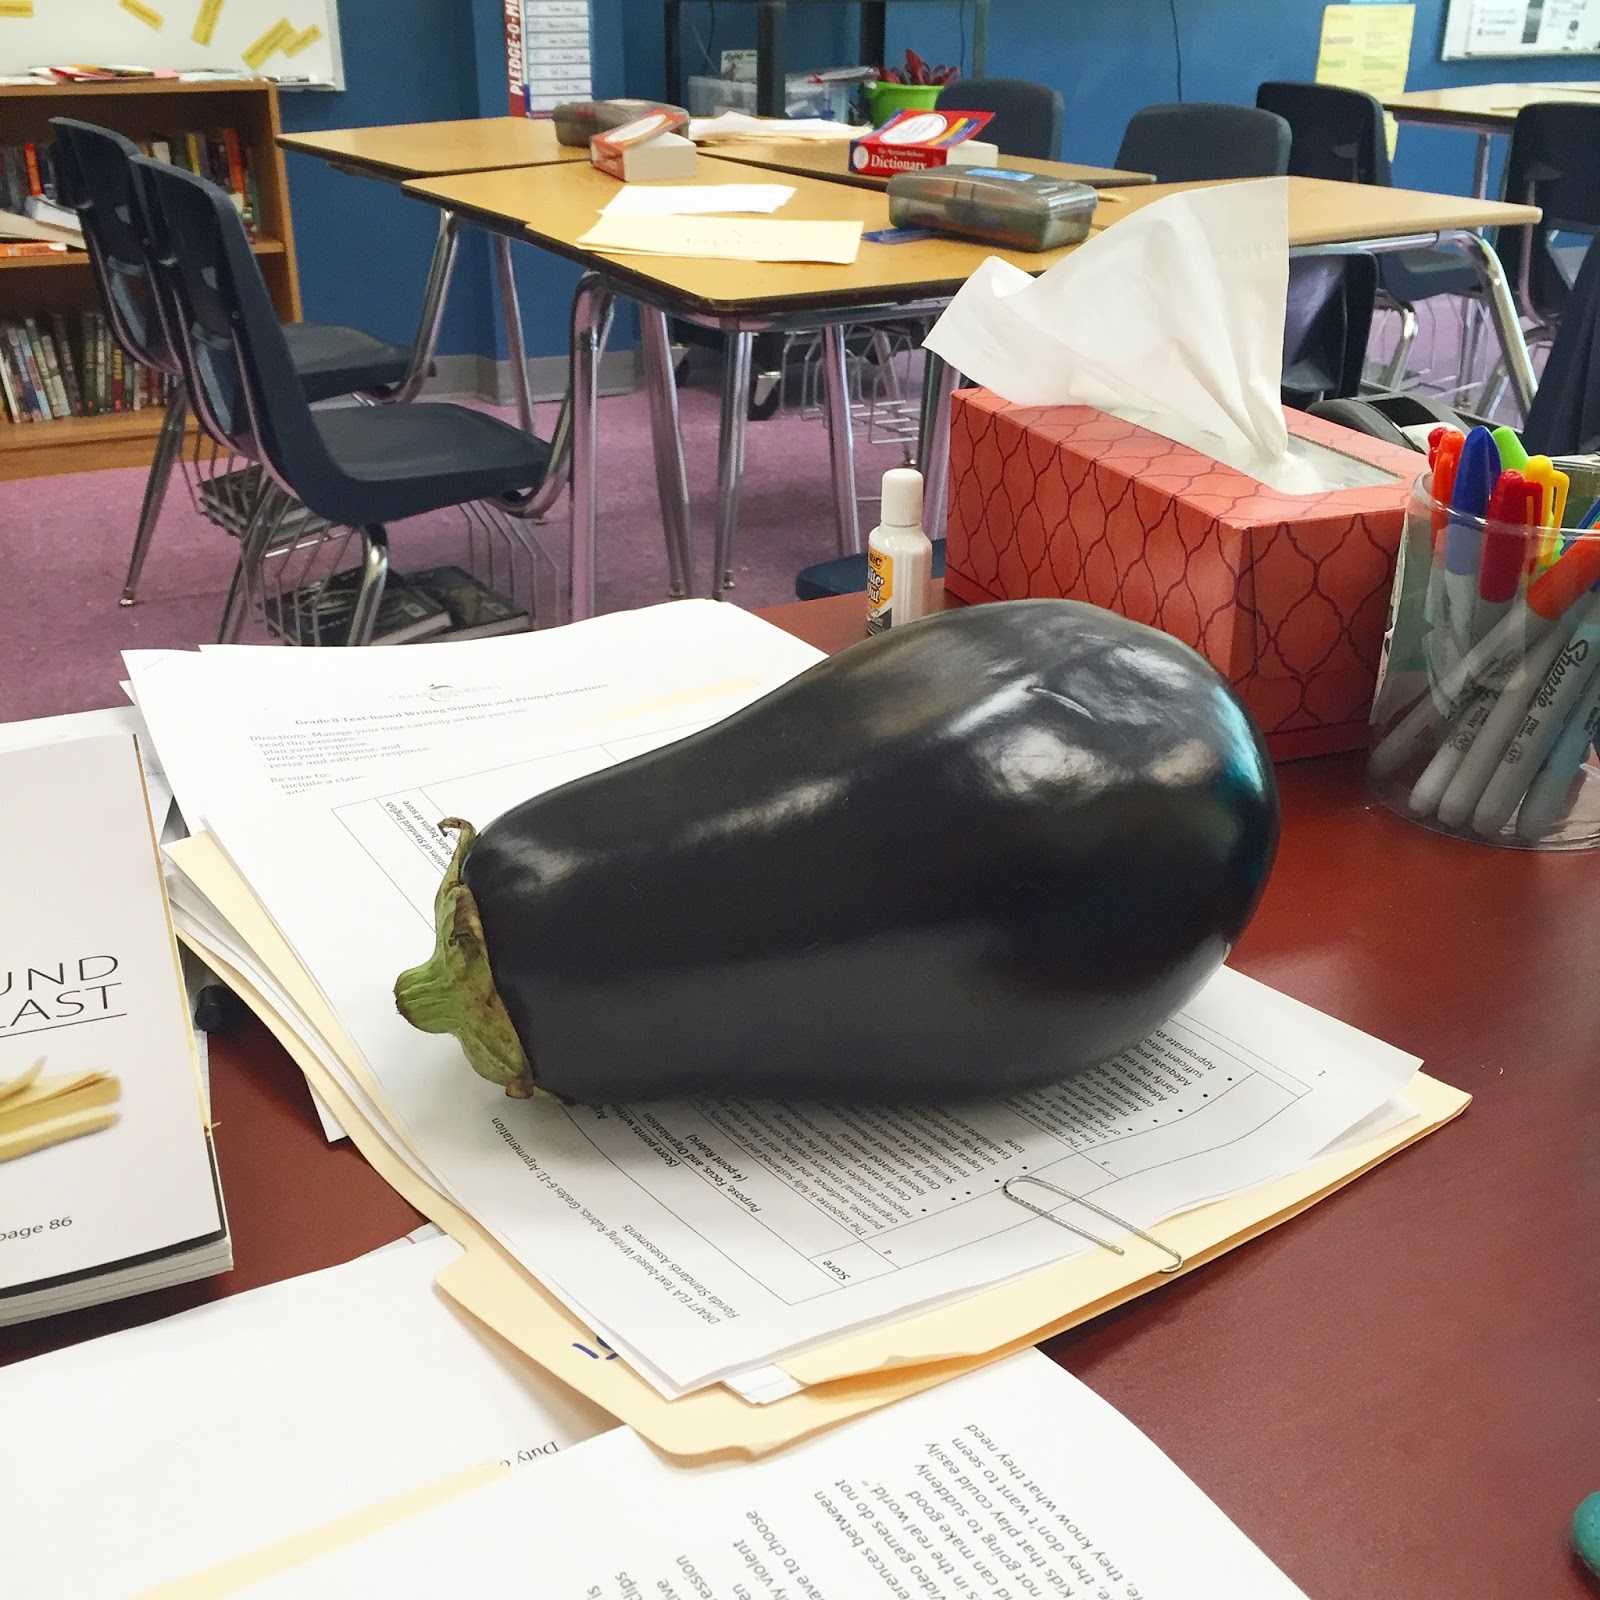
Wednesday, to take my mind off it, I cooked the giant eggplant a student brought me. (Those of you who follow me on Instagram saw the picture of it on my desk. My principal - whose daughter is in my homeroom and plays on the volleyball team - got it from a friend but doesn't eat eggplant, so her daughter brought it to school for me. The kids spent all day touching it and carrying it around like a baby. Middle schoolers are weird.)
My kids' reactions were priceless, but to be fair, it is a weird thing to see on a teacher's desk!
I used this recipe (whose author, I just realized, is named Ali too. Weird) and made eggplant parmesan.
I've never made it before, and it was a hit! Matt and I are both super happy with it. It takes a ton of work, but it makes a lot and it's so yummy!
Oh hey blurry crazy-face!
Plus, all that cheese is a great comfort food while I'm emotionally crazy tapering.
Please tell me everything is going to be okay! I have 10 days before the marathon and I'm freaking out! Thoughts on my new blog layout? I want it to look more centered, but not cluttered! ABK